
Depth layering: What is it and why is it important?

Depth of field, in mixing, refers to the deliberate placement of sounds in the three-dimensional space of a mix, so that instruments are perceived not only from left to right, but also at different depths. Tools like reverb, delay, and EQ crossover create this depth perspective – the crucial difference between a flat and a professional-sounding mix.

Depth layering is a crucial aspect of music production that is often overlooked. It refers to the placement of sounds in the three-dimensional space of a mix, creating depth and perspective. Depth layering done well can make the difference between a flat, unbalanced mix and a professional-sounding production. In this blog post, we'll explore the fundamentals, techniques, and tools for improving depth layering in your music production.

The basics of depth grading: theory and practice

Theoretical foundations

Depth layering is based on several principles that work together to create the impression of depth in the mix. The most important elements are:

  1. Panning: This refers to the Placement of sounds in the stereo field by moving different instruments and elements of the mix left or right, you can create space and separation.

  2. Reverb: reverb simulates the natural reverberation of a room and helps to move sounds further back in the mix or bring them closer.

  3. Delay: Delay creates echoes and can be used to spatially position sounds and create depth.

Practical Applications

Theory is just the beginning. Putting these techniques into practice takes practice and a good ear. Here are some basic steps to improve the depth of your mix:

  1. Use panning strategically: Place elements like lead vocals and bass in the middle of the mix while distributing backing instruments and effects to the left and right.

  2. Experiment with reverb: Different reverb types (plate, hall, room) have different effects on depth perception. Use shorter reverbs for elements that you want to appear closer and longer reverbs for more depth. In the article Adjust reverb in 10 steps you will find further tips and tricks for the perfect adjustment of your room reverb.

  3. Use delay creatively: A subtle delay can add space and dimension to a mix without overwhelming it. Experiment with different delay times and feedback settings.
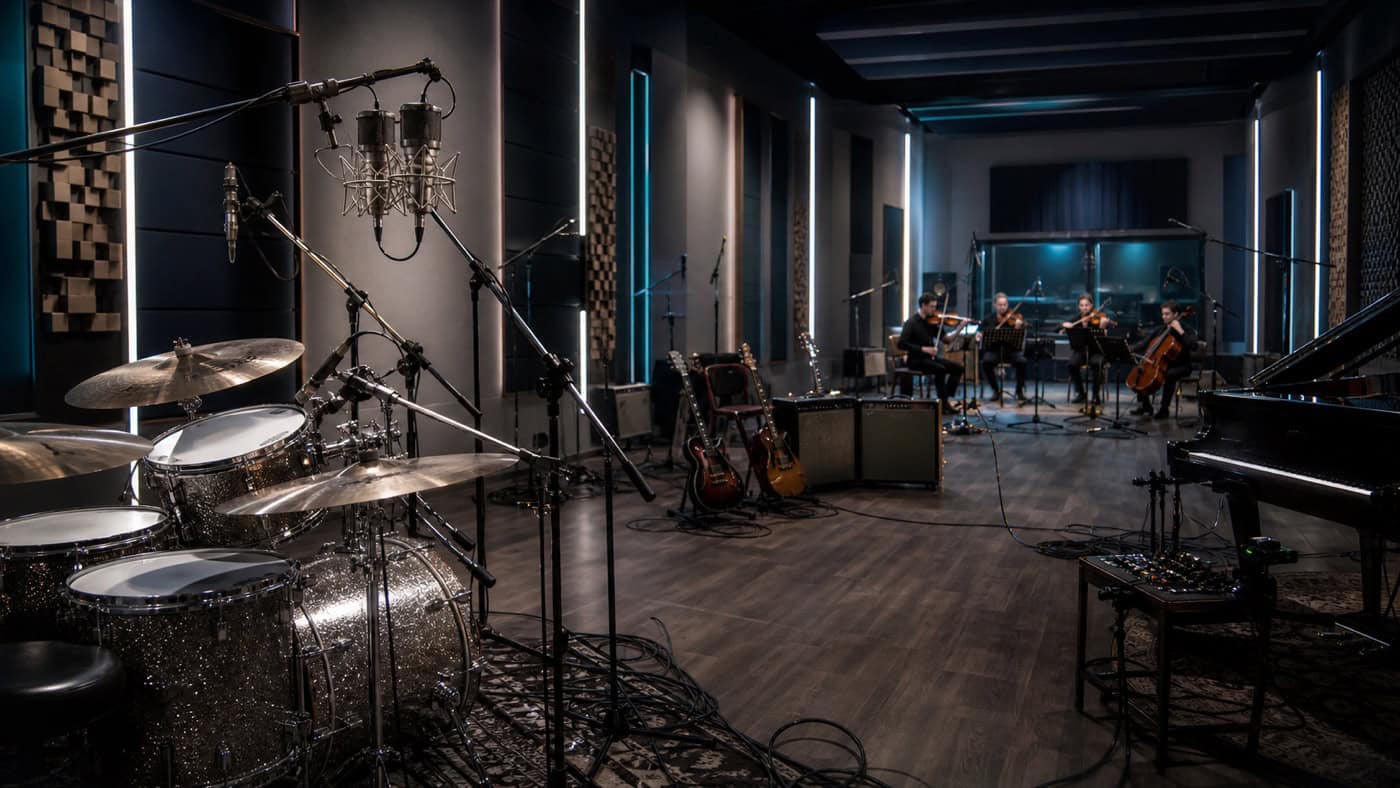
Professional recording room with multiple instrument groups at different distances and layered atmospheric lighting.

Techniques to improve depth in your music production

Using reverb and delay

Reverb and delay are the main tools for depth layering. Here are some advanced techniques to use them effectively:

  1. Predelay in reverbs: Setting a predelay on your reverb effects can help maintain the clarity and definition of a signal while still placing it in the room. A short predelay can give the impression that an instrument is further back in the room without making it sound muddy.

  2. Multi-Tap Delays: These delays can create complex echo patterns that create a sense of movement and depth. Use them to create more subtle, rhythmic elements in the background.

  3. Layering reverbs: Combine different reverb types to create a deeper and more realistic spatiality. For example, a short room reverb can provide immediacy, while a longer hall reverb can add atmosphere and depth.

Automation and dynamic control

Automating effects and volumes can further improve depth. Here are some tips:

  1. Reverb wet/dry mix automation: By automatically adjusting the wet/dry mix of reverb during a song, you can create dynamic changes in depth perception.

  2. Dynamics processors: Use Compressors and Gatesto control the dynamics of your tracks. A well-adjusted compressor can preserve the clarity and precision of an instrument while it's being reset in the mix.

Layering and frequency separation

Another important aspect of depth layering is layering and frequency separation. Here are some methods:

  1. Layering of sounds: Combine different sounds to create a fuller, richer sound. Use EQ to ensure frequencies don't overlap and avoid muddy effects.

  2. Frequency separation with EQ: Use equalizers to define the frequency ranges of different instruments. This helps give each element its own place in the mix and avoid overlap.

Tips and tricks for professional depth gradation

To further refine your depth-of-field skills, here are some handy tips and tricks:

  1. Use reference mixes: Listen to professional mixes in your genre and analyze how depth layering was implemented. Try to apply similar techniques in your own productions.

  2. Check mono compatibility: Make sure your mix sounds good in mono too. This will help avoid phase cancellations that can affect the depth of field. A Mono Compatibility is therefore very important.

  3. Use psychoacoustic effects: Effects like Exciter and Stereo Imager can be used to enhance the perceived depth and width of your mix.

  4. Working with space and placement: Experiment with the placement of your monitors and the acoustics of your studio to achieve a more realistic and precise depth layering.

Common mistakes in depth layering and how to avoid them

Even experienced producers sometimes make mistakes when it comes to depth. Here are some common mistakes and how to avoid them:

  1. Too much reverb: Excessive use of reverb can make the mix sound muddy and undefined. Use reverb sparingly and keep the balance right.

  2. Phase cancellations: This can happen when similar frequencies in different channels are out of phase. Use phase matching tools and check phase correlation regularly.

  3. Overloaded mid frequencies: Too many elements in the midrange can overload the mix and affect depth perception. Use EQ to separate frequencies and make space.

  4. Unclear panning decisions: Blurry or illogical panning can affect depth of field. Develop a clear panning strategy and stick to it.

Success stories: How famous producers use depth gradation

Looking at the work of famous producers can be inspiring and educational. Here are some examples:

  1. Quincy Jones: In his productions, such as Michael Jackson's "Thriller", Quincy Jones uses a masterful layering of depth by combining various panning and reverb techniques.

  2. Brian Eno: Known for his work with ambient music, Brian Eno uses complex reverb and delay effects to create deep, atmospheric soundscapes.

  3. Dr. Dre: In hip-hop productions, Dr. Dre relies on precise panning and layering to create a clear and powerful mix.

Summary and next steps: Your checklist for better depth layering

Finally, we summarize the most important points and offer a practical checklist for your next Music Production:

  1. Understand the basics: Master the principles of panning, reverb and delay.
  2. Use the right tools: Use high-quality plugins and tools.
  3. Experiment and automate: Be creative and dynamic with effects and volumes.
  4. Avoid common mistakes: Pay attention to balance and phase correction.
  5. Learn from the best: Analyze the work of successful producers.

Panning distributes signals along the left-right axis in the stereo field, creating lateral separation. Depth layering, on the other hand, works along the front-back axis: it layers sounds according to distance. This is achieved using reverb, pre-delay, level, and treble roll-off – more distant sources sound quieter, more reverberant, and muffled. Only the combination of both axes creates a three-dimensional, spatially plausible mix.

Air attenuates high frequencies more than low frequencies over distance, which is why distant sources lose brilliance. Additionally, sound pressure decreases with distance, and the proportion of reflected sound to direct sound increases. Therefore, if you want to push a sound further back in a mix, you slightly reduce the high frequencies, lower the overall level, and increase the reverb – this imitates this natural behavior.

Pre-delay is the short pause between the direct signal and the onset of reverb. A longer pre-delay (around 20–40 ms) keeps the direct sound front and clear because the ear hears it first, before the reverberation kicks in—the signal remains close. A very short or no pre-delay immediately blends the source and reverb, causing the sound to recede and sound more distant.

Depth is primarily created by level, frequency response, and reverb – these elements are preserved even in mono. However, width and lateral effects collapse or partially cancel each other out due to phase issues. Therefore, you should regularly check your mix in mono: If the front-back arrangement remains stable, the layering is robust. If space suddenly disappears, too much of it was focused on phase-sensitive stereo effects.

Depth of field clearly belongs in the mixing stage, because that's where you can apply individual reverb, levels, and EQ to each track. In mastering, you only have the finished stereo mix, so it's almost impossible to adjust the depth of individual elements in isolation. Mastering can slightly enhance the overall impression through depth balance, stereo width, and dynamics, but the actual spatial arrangement must already be established in the mix.