Common home recording mistakes and how to avoid them
Helpful tips for hobby musicians and home studios
Home recording is becoming increasingly popular, especially among amateur musicians who want to record their songs at home. But there are many stumbling blocks when getting started, which lead to poor results. In this article, I will show you the most common mistakes in home recording and how you can avoid them with a few simple tips. This way, you canrecording qualityin yourHome studioimprove significantly.
1. Room acoustics – The invisible enemy
One of the biggest mistakes many musicians make whenhome recordingis ignoring the room acoustics. A bad sounding room has a negative effect on yourmusic recordings at home.
What's going wrong?Shiny surfaces such as windows, walls and floors cause reflections that make the sound "muddy". The result: your recordings sound dull and unclear.
Solution:Improve theRoom acoustics in your home studiothrough simple means such as curtains, carpets orDIY acoustic measuressuch as Basotect absorbers. Place your microphone in the middle of the room to avoid reflections from walls.
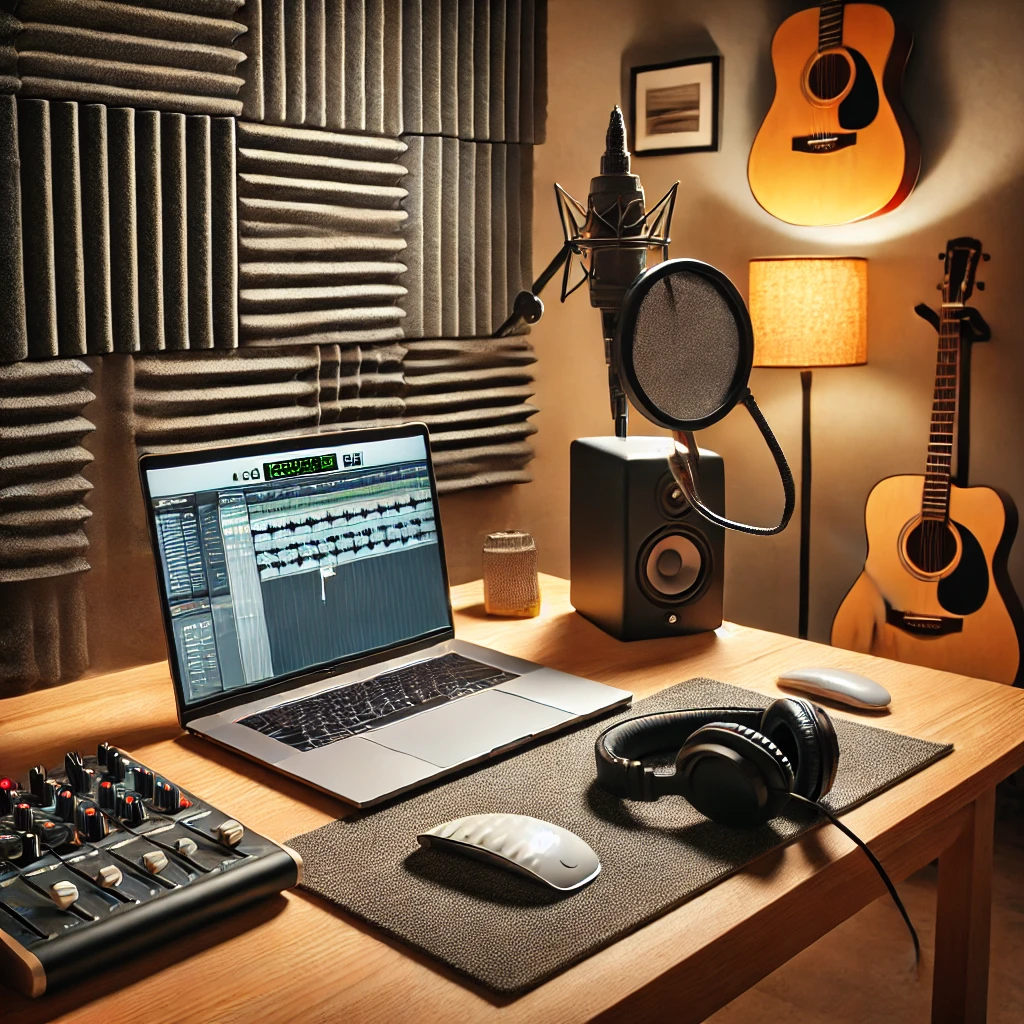
2. Incorrect microphone selection and positioning
The right thingMicrophoneand the appropriate positioning are crucial for good recording quality.
What's going wrong?A common mistake is using an unsuitable microphone or positioning it incorrectly.Recording vocals at homeoften requires a condenser microphone, while dynamic microphones are better suited for loud instruments. If you stand too close to the microphone, the so-called proximity effect occurs, which makes the sound unnecessarily bass-heavy.
Solution:Choose the right onemicrophone for home studio recordingsand experiment with the positioning. A distance of about 15-20 cm from the microphone usually ensures a natural sound.
Do you want really good quality for your recording? Then record in one of our 3 studios!
3. Correct gain staging – avoid clipping
The gain stagingis often neglected, but leads to big problems if the recording is overloaded.
What's going wrong?Many beginners set the input level too high, which leads toClippingand distortion. An overdriven recording is difficult to correct even after the fact.
Solution:Keep the level between -18 dB and -12 dB to get enoughheadroom This will prevent your recording from being too loud and will give you some room to maneuver in the mix.
4. Noise and humming – the silent killer
Noiseare another common mistake thathome recording setupsoften occurs.
What's going wrong?Annoying noises such as humming or buzzing can be caused by poorly grounded equipment or poor quality cables. These noises sneak into your recording and make the end result unusable.
Solution:Check the grounding of your equipment, use high-quality cables and use pop filters to reduce breath and hissing sounds when recording vocals.
5. Overproduction and too many effects
One of the most common mistakes inHome studiois overloading the recordings with effects and editing.
What's going wrong?Too muchcompression, Hall or EQduring recording quickly leads to unnatural results. Many effects should only be applied aftermixingin order to be able to design the result flexibly.
Solution:Keep your recording as natural as possible. You can always add effects like reverb and compression later in the mix.
Do you want the sound of the professionals? Then book your online mixing today and be there live if you wish!
6. Sampling rate and bit depth – The technical basics
Choosing the right onesampling rate andBit Depth is a technical but important point to ensure a goodaudio quality at home.
What's going wrong?Many musicians work with too low asampling rateor bit depth, which limits flexibility in later mixing and can affect sound quality.
Solution:Make sure you have at least 24 bit and asampling rateof 44,1 kHz. This provides enough headroom for the mixingandmastering and ensures that your recordings remain in high quality. If you later want to save your tracks onStreaming ServicesIf you want to upload your music, make sure that the loudness requirements are met. You can find more information on this in our blog:Itunes, YouTube, Spotify and Co. – This is what your song should be like!
7. Structure and organization – order must be maintained
A goodhome recording setupalso requires a neat organization of your projects and tracks.
What's going wrong?Unnamed tracks or disorganized folders quickly lead to chaos and make it difficult to keep track of everything - especially if you record a lot of takes.
Solution:Label all tracks correctly and keep your DAW projects organized. Use folder structures, for example, toDrums, GitarrenandVocalsto keep them separate.
Conclusion: Your path to better home recordings
home recordingis an art that requires a lot of patience – but with the right measures you can improve your recordings significantly. Pay attention to yourroom acoustics, choose the appropriateMicrophoneand avoidNoiseThis is how you lay the foundation for professional results.
Tip:If you are unsure how good your recordings really are, use ourmix analysis or book a free initial consultation with us. This way you will receive direct feedback and can further improve your recordings!
YOUR CONTACT TO PEAK-STUDIOS
Your contact for questions about your production!
-
Personal point of contact
-
Over 20 years of experience
-
Highest quality standards
You can reach us by phone from Monday to Friday from 9 a.m. to 8 p.m.