Basic vocal chain
Vocal mixing can be compared to cooking. To get a good result, there are a few things to consider. In this article we want to go into the basic editing steps in vocal mixing.
Perfect vocals – what does that mean?
In order to achieve the best results during subsequent vocal processing, therecording's qualitycrucially important. As with cooking, quality mattersall ingredientsabout the end result. Indispensable for good raw quality of yoursvocal recordings is and remains thatroom acoustics. If the room is too small, acoustically not sufficiently optimized or you have positioned the microphone in the wrong place, this can lead to a poor or blurred overall sound. The reason for this arereflectionsof the sound that occurs at theRecording vocalsand is reflected by the surrounding walls and/or furniture. These reflections can cause the voice recording to sound muddy or musty.
Other important factors for a good vocal recording include: Microphone, the cabling and theconverter that record your voice. So if you want to fundamentally improve the quality of your vocals, you should first acoustically optimize the room and choose a suitable microphone for your voice. The better and more resolving the microphone is, the more important the room acoustics become.
Consider vocals in the overall mix:Our tutorial shows you how gain staging, dynamics, EQ, and effects work together in the entire mixing process.Mixing Guidein a clearly structured process.
Do you want the best possible sound for your song on all streaming portals?
Vocal EQ and Editing – Cleaning up the recording
Ineditwe our recorded vocals. Here we cut out the prelude before the actual recording, as well as all pops and noise. Alternatively, you can also enter hereVocal gateUse as long as there is no noisesufficient distanceto the main signal. This is the only way the gate can work properly.
After editing the recorded audio tracks, you should nowtonal correctionof the individual notes and segments. A good program for this is Melodyne, for example. This should be a purely tonal correction of the intonation. On creative effects likeAuto tuneyou should avoid this step. When it comes to vocal tuning, this step involves first correcting odd tones.
We put one as the first insert effect in the vocal trackEqualizer, by using oneLow Cutset the slope to a maximum of 12 dB per octave (it simply sounds more natural) and set this approximatelybetween 90 and 120 Hza. This allows us to filter out any impact noise or similar low-frequency noises from our recording.
Now we filter with narrowband notch filtersdisturbing and disharmonious resonance frequencies (Tutorial on filtering resonance frequencies) and anything that, to our liking, worsens the sound. If we have several resonance frequencies right next to each other or a very broadband interference frequency, for example in the range of 500 Hz, you should definitely tryReduce Q factorto reduce the interference frequenciesto be reduced across the board (this often sounds much more musical than many narrow-band reductions). The tuning from the previous step takes on additional meaning here, as the resonance frequencies can change again due to the pitch correction of the intonation. If you were to perform pitch correction after correcting the resonance frequencies, other frequencies could become problematic.
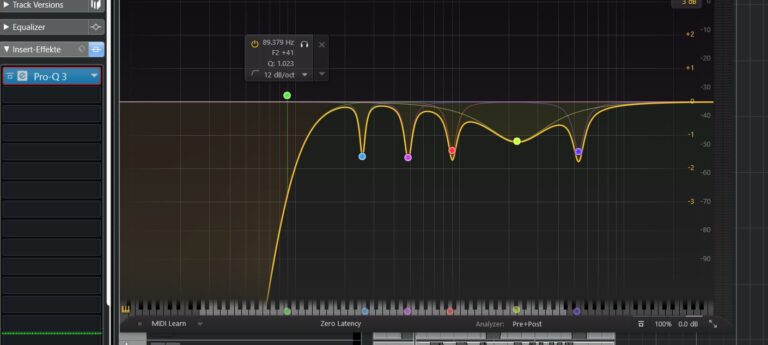 Technical vocal EQing
Are you still finding mixing difficult and don't know which decisions are the right ones?
Compress vocals – add pressure to recordings that are too lax
Depending on the recording and intended use, you should use one in the next stepCompressoruse. This is intended to serve that purposedynamic range To limit your intake as much as possible, you are the onedesired pressure in your recordingand the recording sounds as homogeneous as possible.
Per tip:Use one before the compressorVocal Ridersto compensate for any volume fluctuations using volume automation, which the Vocal Rider performs for you. This ensures that the subsequentcompressionwill be significantly lower and the signal will be considerably more of itsnatural sound characteristicsretains.
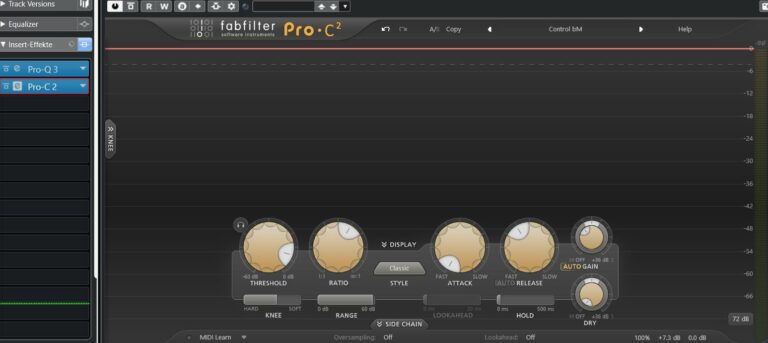 Vocal compression
Shaping Vocal Sound – Musical Equalizer
After you compress the signal, the next step is the equalizer. Here we speak ofmusical equalizing. With this equalizer you can now increase the frequencies,that you want to emphasizeor that should sound different.
In most cases, now is the time to use oneDeEssersor optionally a dynamic equalizer or oneMultiband compressor. Whether you use the DeEsser before or after compression cannot be specifically determined, but you should always try it out.which result sounds better to you.
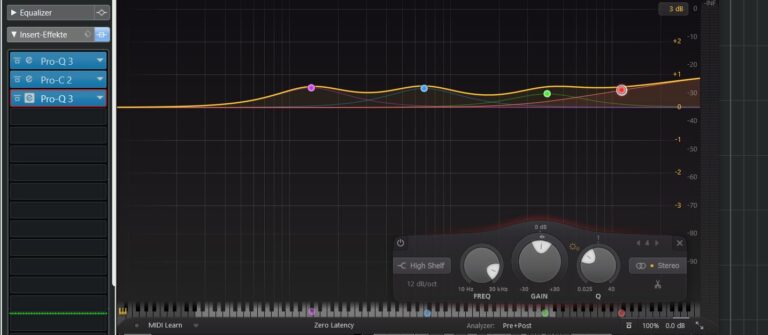 Musical Vocal EQing
Your mix is finished and you are still unsure whether you did everything right?
Vocal Effects – Creative editing of your vocals
Now you can create creative effects like reverb, delay, saturationor use other effects of your choice. Creative sound effects such as autotune can also be used.
If you have several vocal tracks in your project, it is recommended to combine them into oneVocal bus or oneVocal group to route. Here you can use further compression to glue all the voices together, the so-called "glue". Creative effects such as reverb and delay can also be used here.
Per tip:Whenever you use a plugin, make sure thatthat input and output levels are identical. This is the only way you can objectively compare whether the signal actually sounds better with or without your processing.
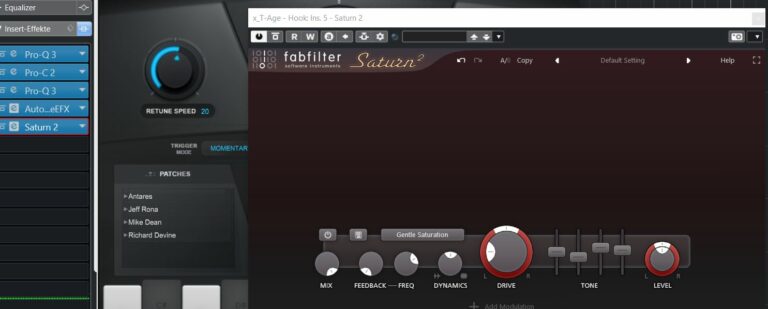 Creative vocal editing with autotune and saturation