Home recording - good quality for little money
HOME STUDIOS FOR LITTLE MONEY
GOOD RESULTS FOR THE SMALL PURSE
When building your ownhomeRecording studiosAt first there are an unbelievable number of questions and one is stunned by the abundanceGear orMusical equipment . One quickly tends to spend money in the wrong places for things that are not necessary and this is then missing for investments that significantly influence the sound and make studio life more pleasant. In thisersten TeilOur Home Recording series should therefore name the most important components of your first studio. Our Home Recording series should be a help so that you pay attention to the important things andAchieve a professional sound and a good sounding song despite a limited budget. The blog posts will deal with a variety of problems you will encounter with home recording and from theacoustic optimizationyour studio to cover everything up to the recordings.
INTERFACE - THE HEART OF EVERY STUDIO
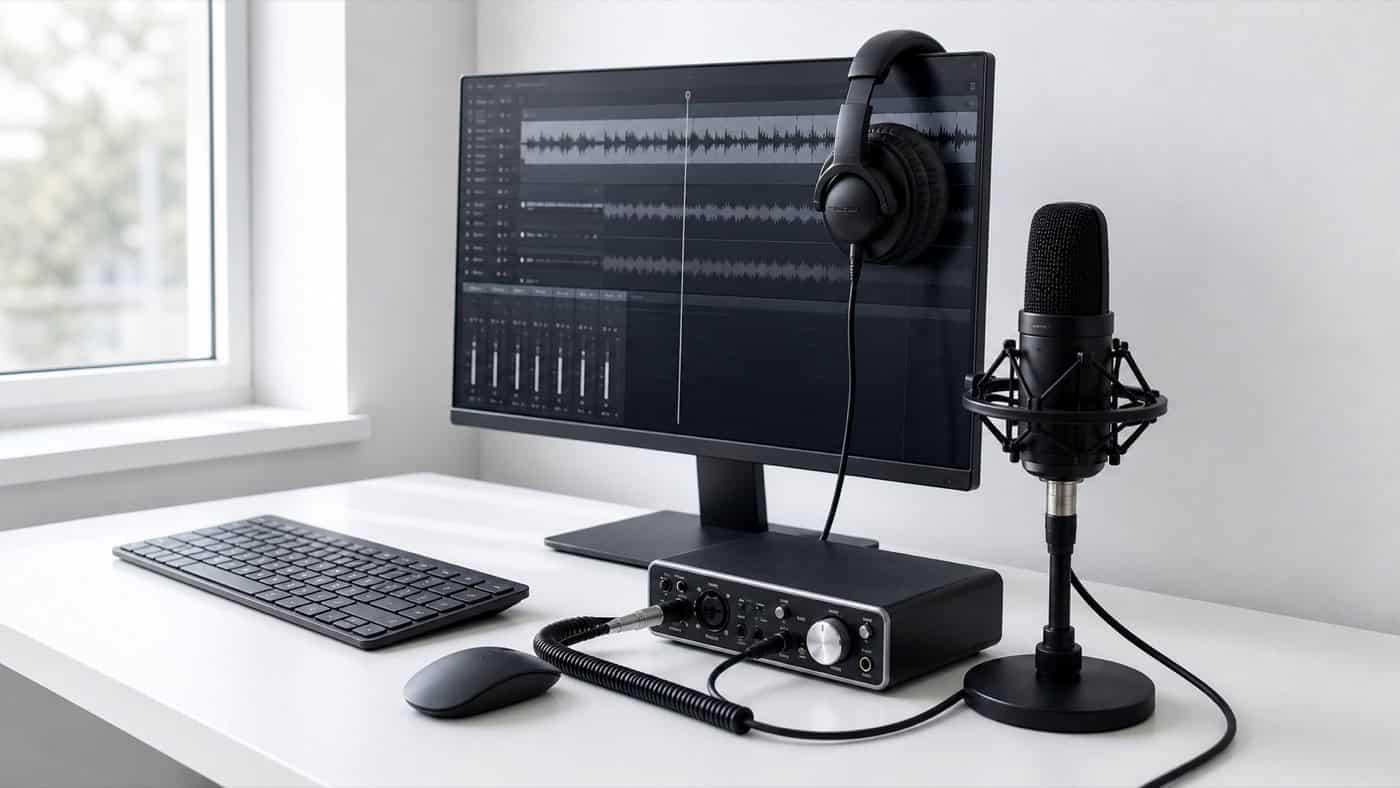
In addition to theDAWthe heart of every studio. Because the internal sound cardof a computer is not suitable for recording, the interface is used to record theConvert audio signal to digital signal and vice versa.
So what should you look out for when buying an interface?
First of all, the question arises about theAudio inputswhich usually have 1-8 inputspreampare sufficient. Since in the home recording studio everything is usually recorded directly via the interface and this happens one after the other, you will normally not need more than two inputs at the beginning. Two inputs are practical insofar as they can also be recorded in stereo if necessary or, for example, oneSinger & Songwritercan record guitar and vocals at the same time. Depending on requirements and setup, larger interfaces can also be used, for the start and in most cases the described size of the interface is completely sufficient.So what price range are you in for an interface?
An interface in this category is between 100 and 300 euros. Even in this price range you can achieve the great results with home recording thatInterfaces in this price rangeusually bring good preamps; that sound more neutral and forVocal and instrument recordingsare ideally suited. It should be noted here that you should not expect professional results here!
DAW (Digital Audio Workstation)
The question of the right DAW is heavily discussed in many forums. But which one is now suitable for your own needs?
You should ask yourself the question about the area of application here, if you want, for example electronic musicto producewell worth a look atAbleton Live and FL Studioto throw. If you are looking for a DAW for recording,Editing and Mixingso Pro Tools and Reaper are ideal. Or do you want oneAll-rounder software, then you should check out Cubase, Studio One and Logic Pro (MaxOS only).
Another way to find the right DAW is to use a DAW that is used a lot in the local area. This offers you the opportunity to exchange ideas and to have direct support from known users if you have any questions. (This saves an incredible amount of time that you spend in forums to solve some of the simplest problems.)
The third option is to experiment yourself, many interfaces come with a slimmed-down version of a DAW when you buy them. Here you can familiarize yourself with the most important functions of these and test the DAW. It enables you to get a feel for the DAW and to test whether the workflow suits you. Often these versions can be upgraded to a version with even more functions if necessary.
Studio monitors
Studio monitors are an important part of the studio, you will through these listen and mix, so you shouldn't save too much here. The monitors should be one if possible neutral frequency responseif they color the sound too much, the mix will end up sounding bad too. It is better to invest a little more here in order not to find out after a short time that the sound is not optimal. Common in the home studio2-way near field monitors, ie monitors with a speaker for theMid and bass rangeand one for the heights. These are usually set up at a distance of up to one meter from the listening position. When choosing monitors, it is important to test them in your own studio. It is certainly helpful to seek advice from the music shop, but the test rooms are usually not the right reference for getting an idea of the sound of the monitors. In your own studio, these will most likely sound very different. The reason for this is the change in the acoustic environment. You can find monitors suitable for home recording from around 200 euros each.
Master keyboard
The next part of the studio is a keyboard with which you can useMidi your VST instruments can play. The question that usually arises here is: How many keys do I need? If you want to play short melodies or simple patterns, for example, you will probably submit itKeyboard with 25 or 49 keys. If you also want to play piano or large orchestral parts, you should definitely look for a variant with 61 or 88 keys. In principle, the brand doesn't matter here, because with everyoneMaster keyboardsmidi parts can be imported, rather the keyboard is about the extra functions that you want to use. Do you mainly work with, for exampleVSTs from Native Instruments or ArturiaIt is worth buying a keyboard from the respective manufacturer to optimize the workflow with the respective libraries. If you want integrated touch pads for playing drums, it might be more worthwhileAkai or M-Audio Keyboard. Choose your keyboard so that it complements your workflow in a meaningful way.
Microphone
Last but not least, the microphone is still missing. Microphones are the part of your studio where you shouldn't look at the money becauseyour recording stands or falls with the microphone.At the beginning there is usually only one microphone available for home recording, so this should be a good all-rounder microphone. Highly recommended is a Large diaphragm condenser microphone, with this you can achieve great results with singing as well as instruments.
In the cheaper price segment, this is particularly possibleRode NT-1recommend that it shines with a neutral frequency response and can keep up with more expensive microphones. Also theMicrophones from Lewitt and AKGare worth a look. If you are looking for a high-end microphone, you will probably not get around the brandNeumannaround which, for example with the U87, have released numerous studio classics. Another microphone to mention is thisShure Sm7b, This is aDynamic microphonewhich is particularly suitable for vocal recordings. So if you're not planning on recording instruments, definitely check out this mic.
As with monitors, the most important thing with microphones is that you test them and choose a microphone that suits your sound ideas and needs.
Acoustics in the home studio
The second part of our home recording series is about theacoustic optimization of your studio.Since there are usually no acoustically optimal rooms available in your own apartment, it is important to do soAbsorbersto help out, for exampleFlutter echoesto avoid when recording and to create the best possible listening situation. In order to achieve good recordings in the home studio, the goal is to optimize the room so that it cannot be heard on the recordings and is later added to the track via reverb. At the same time, the sound should be distributed in the room in such a way that apleasant listening, mixing and masteringis possible.How do you measure the room acoustics in order to choose the right room treatment?
For this you use your speakers around oneSweepto play in the room. With aMeasurement Microphoneand suitable software Record the sweep and measure the reverberation of the frequencies in your room. Good software for measuring your room acoustics is thisFreeware CARMA from Audionet. With a little training, a reasonable measurement image can be played out relatively quickly.Advantages of measuring room acoustics yourself
One of the main advantages of measuring yourself is that it is enormousCost savings. By arranging your studio furniture you have the possibility to measure a new frequency image every time in order to make positive or negative changes in your room acoustics visually visible.
Broadband absorber
The first step in improving the acoustics of your own home studio is with broadband absorbers. It should be noted here that even ifPyramid foamseems cheap and sensible at first glance, this usually does not lead to any great improvement.Pyramid foam usually only filters high frequencies, but no mids or basses. Which means that your recordings sound rather “dull”. A cheap and simple alternative is toBuild absorbers yourself, for this you need rock or mineral wool, Wood for a frame, as well as fabric. With the wood you build a frame for the mineral wool which is then covered with the fabric. The materials for these absorbers can be found in every hardware store and you can build high-quality absorbers with little money. It is important to make sure that the absorberare at least 14 cm thick to ensure absorption of the middle, lower-middle and partial bass range, because the following applies: the more depth the absorber has, the lower frequencies can be filtered. The question now arises, where should the absorbers be attached? First are the two most important placesthe initial reflection points of your speakersbecause here the sound occurs first and is distributed in the room. Further absorbers can also be attached on both sides of the room. If more absorbers are required, they are also suitableAbsorber behind your workplaceas well as hanging from the ceiling above. A good supplement is the use of heavy ones"Theater curtains" to optimize room acousticsYou can attach these using inexpensive curtain rods or curtain rails and make the room “drier” or “livelier” as you wish.
Bass traps
TheThe bass range is usually the most problematic frequency spectrumin the home studio, since the sound waves are the longest here and are the most difficult to filter. In order to intervene in this area and filter low frequencies, absorbers as thick as possible, so-called bass traps, are required. One is optimalConstruction depth from approx. 40cm so that the absorbers also effectively intervene in the range below 100 Hz. The Bass fall in the corners of the room, These should, if possible, take up the entire height of the room. At the beginning, you should equip the corners near your workplace with bass traps. If the bass range is still problematic, you should also place bass traps in the other two corners of the room. The general rule:There are never too many bass traps!As with broadband absorbers, bass traps have the option of building them yourself with a little manual skill. This saves you a lot of money because bass traps from larger manufacturers are usually extremely expensive and quickly, in order to achieve an optimal result, can cause costs in the four-digit range.
Diffusers
In the last step, so-called diffusers are used to make the room sound more pleasant and natural. These do not absorb the sound, but rather scatter it in a targeted manner. hereyou intervene in the reverberation of the room, thereby creating a better listening experiencecan be achieved. There are two types of diffusers:1D QRD & 2D QRD.The difference is that with the former, the sound is only reflected in one direction, while with the latter, the sound is reflected in all directions. However, 1D QRD diffusers also reflect lower frequencies, whereas 2D QRD only reflect highs and mids. Diffusers are particularly suitable for preventing flutter echoes, which is why they are usedmost sensibly placed in the back of the studio. At the same time, the area near the diffusers is suitable as a pick-up area as this is where the sound can best be scattered.