TUTORIAL: AUDIO COMPRESSION - UNDERSTANDING FUNCTIONS - APPLICATION METHODS
What is audio compression?
Audio compression reduces the dynamic range of a signal, that is, the difference between the quietest and loudest parts. Simply put, a compressor makes loud passages quieter, thus smoothing out the overall sound. The result is a denser, more consistent, and generally more powerful sound, because the signal jumps less dramatically between quiet and loud.
The practical benefit: A well-compressed signal cuts through the mix better and remains present throughout the entire playback. A vocal track whose level constantly fluctuates becomes noticeably smoother with compression and sits reliably at the forefront. If you want to delve deeper into the concepts of loudness and dynamics, it's worth taking a look at the Dynamic Range and on the topic headroom.
Upward vs. downward compression
Basically, there are two application methods: downward compression and upward compression. Both reduce the dynamic range, but tackle the problem from opposite sides.
The Downward compression This is the most well-known form. Here, passages that are above a set level are attenuated. This brings the loud parts closer to the quiet parts, increases the signal density, and reduces the dynamic range. Virtually every standard compressor in your DAW works this way.
The Up Compression It reverses the principle: instead of attenuating the peaks, it boosts the quiet passages below a certain threshold. This thickens the overall signal from the bottom up without affecting the loud parts. This is useful when you want to make subtle details audible but preserve the natural character of the peaks.
Compressor types
Compressors can be categorized on two levels: according to the frequency range they process and according to their internal circuitry. Both distinctions are important in practice because they determine the sound character and area of application.
Broadband and multiband compressor
A Broadband compressor It processes the entire frequency spectrum simultaneously. It's an all-rounder, suitable for compressing and condensing a signal as a whole. Multiband compressor In contrast, it splits the signal into several frequency bands, which are compressed independently of each other with their own parameters. This allows you to selectively tame individual areas, such as a booming bass, without affecting the treble.
The most important circuit types
- VCA compressor: It uses a voltage-controlled amplifier. It responds quickly and precisely, and sounds clean and controlled. Ideal for drums, bus compression, and anywhere you need tight control.
- FET compressor: Uses a field-effect transistor for level control. Known for very fast attack times and an aggressive, characterful sound. Popular on lead vocals, drums, and anywhere a bit of bite is desired.
- Opto-compressor: It controls the level via a light-sensitive cell and an LED. The control response is rather slow and smooth, resulting in a very musical and soft sound. Good for vocals and bass when the adjustment needs to be unobtrusive.
- Variable Mu compressor: A tube design where a vacuum tube, rather than a semiconductor circuit, controls the gain. Many find the sound particularly warm and full. Frequently used on mastering boards and in mastering.
- Limiter: Essentially, it's a compressor with a very high ratio (often 10:1 or higher). It doesn't allow anything above the set threshold and acts like a wall, blocking the signal. You can find more information on the page about... Limiter.
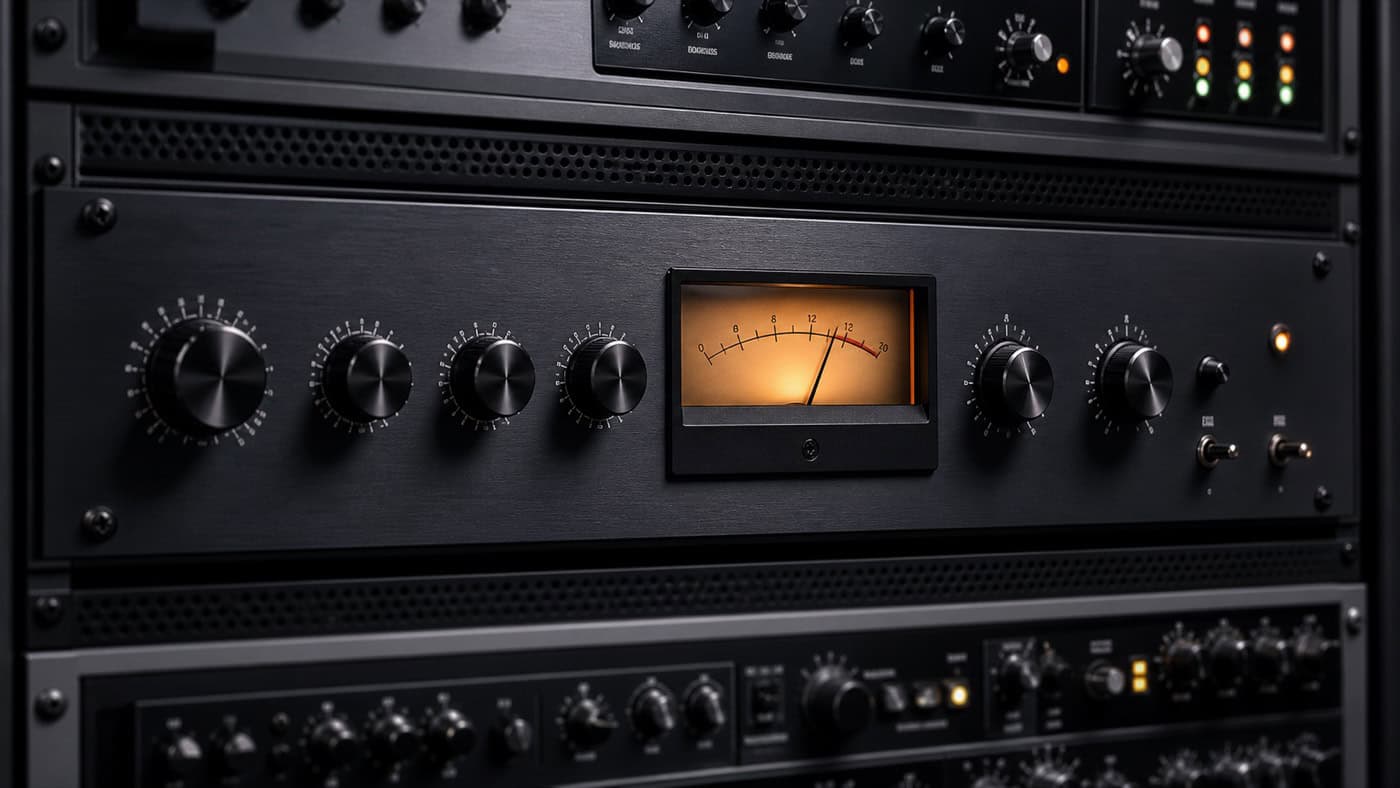
Which circuit type is suitable for which material is not a hard and fast rule. In the test master, we work, among other things, with the Drawmer S3 multiband tube compressor because it combines the flexibility of multiband processing with the warm character of a tube.
The most important parameters
No matter which compressor you use, the central controls appear almost everywhere. Anyone who understands these parameters can operate any compressor.
- Threshold: This determines the signal level at which the compressor engages. Everything above the threshold is compressed, everything below remains unaffected. The lower the threshold, the more material is captured.
- Ratio (ratio): Determines how much compression is applied above the threshold. At a ratio of 4:1, only 1 dB of the 4 dB exceeding the threshold remains. Low ratios (2:1 to 3:1) have a gentle effect, while high ratios have a more pronounced effect.
- Attack: Attack: The time the compressor needs to fully engage after the threshold is crossed. A short attack quickly catches transients, while a longer attack (e.g., 30 to 50 ms) initially lets the transients through, thus preserving punch and liveliness.
- Release: The time the compressor needs to release after the threshold is crossed. A shorter release time (around 50 to 100 ms) is suitable for fast drums, while vocals usually require 100 to 200 ms – and up to 250 ms for slow, sustained vocals.
- Knee (knee point): Describes how soft or hard the transition into compression is. A soft knee sets in gradually around the threshold and sounds inconspicuous, while a hard knee engages abruptly and is therefore much more audible.
- Make-up Gain: It raises the level of the compressed signal again, as the compression has reduced its level. This compensates for the level reduction and allows you to fairly compare the compressed sound to the original.
Parallel compression
Parallel compression doesn't compress the entire signal; instead, a highly compressed copy is mixed with the unprocessed original. The effect is often perceived as close, direct, and powerful because the dynamics and character of the original are preserved, while the copy adds extra punch. This technique is particularly popular on drums and vocals when they lack the necessary impact.
A proven starting point for parallel compression looks like this:
- Attack: Attack: as short as possible (approx. 0,1 ms) so that the copy is ready immediately.
- Release: as long as possible (200 to 500 ms) for a calm, dense character
- Threshold: Adjust it so that a gain reduction of approximately 6 dB is achieved.
- Detector: If selectable, we recommend setting it to Peak instead of RMS.
You then adjust the compressed copy by ear to match the original signal. There's no fixed rule for the mix. A practical example: With a drum bus, you blend in the parallel track until the snare and kick drum noticeably gain body, but the natural attack is preserved. As soon as the drums sound artificial or squashed, you've mixed in too much.
The rich compressor wählen
The most honest rule of thumb is: if it sounds good, it's good. There's no hard and fast rule that says a particular compressor type is necessarily suited to a particular type of material. Nevertheless, some trends have proven successful.
If you want to make an overall signal sound more uniform and cohesive, a broadband compressor is often the first choice. This process works like a kind of gluing process, where the individual elements are joined together into a unified whole with the help of the compressor. A multiband compressor, on the other hand, is used when individual frequency ranges require different attack and release times, the dynamics of the sub-ranges fluctuate significantly, or only a specific area of the frequency spectrum needs compression.
The desired character determines the circuit type: a clean VCA for tight control, a FET for aggressive bite, an opto for subtle musicality, a tube for warmth. Compression has many faces in mastering. The entire range of tools, from parallel and multiband to soft clipper, is gathered here. Mastering Guide.
Practical tip: Compress vocals
Vocals are the classic application for compression because the volume of a vocal track naturally fluctuates significantly. Here's a sample setup to get you started:
- Threshold: lower it so that the louder phrases are reliably captured.
- Ratio: moderately between 3:1 and 4:1, so that the procedure remains controlled
- Attack: Attack: medium (approximately 10 to 30 ms) so that consonants and keystrokes are preserved
- Release: 100 to 200 ms, depending on the tempo and phrasing – up to 250 ms for sustained singing.
- Gain Reduction: First aim for 3 to 6 dB, then compensate with make-up gain.
If one compressor isn't enough, a series setup has proven effective: A first compressor with a low ratio gently smooths out the large volume jumps, while a second then shapes the character. This way, each individual adjustment remains subtle and unobtrusive. For those who want even denser and more present vocals, this can be combined with the parallel compression described above. Our [link to video] demonstrates how to integrate the result into a well-balanced song. Mixing service.
Typical beginner mistakes
The same mistakes keep happening during compression. Knowing them will save you a lot of frustration:
- Too much gain reduction: More isn't automatically better. Constantly reducing the signal by 10 dB or more robs it of its vitality and breath. In most cases, a few decibels are sufficient.
- Incorrect attack time: An attack that's too short obscures the transients and robs the material of its punch. If drums suddenly sound lifeless, the attack is often set too fast.
- Mistaking loudness for quality: A compressed signal usually sounds louder due to the makeup gain, and therefore better at first glance. Always compare the original and processed signals at the same volume.
- Compression for no reason: Not every track needs a compressor. If the dynamics are already right, often the best intervention is none at all.
- Pumps overlooked: An incorrectly set release can produce audible pumping, where the signal rhythmically breathes louder and softer. Adjust the release to match the tempo of the material.
Are you stuck during compression or do you want a powerful, professional sound for your song? With our analog compressors from Drawmer, Neve, SPL, SSL, and Elysia, we'll gladly ensure a dynamic and coherent result. Simply send us your material via the File upload and we take care of it in mastering about the rest.