What is Gain Staging and Why is it Important?
What is Gain Staging?
Gain staging refers to the process of optimizing the levels of each audio signal in a signal chain to ensure the best possible sound quality. It is the fine-tuning of the input level and signal gain at different points in the signal path.
History
Historically, gain staging was critical in analog studios because signal processing was done by physical devices such as mixers, amplifiers and tape machines. Setting the level correctly was necessary to avoid distortion and achieve clear, clean sound.
Significance
Today, gain staging is just as important in the digital audio world. A poorly matched level can lead to clipping, noise, and an overall deterioration in sound quality. By correctly gain staging, you can ensure that every audio signal is processed optimally, without unnecessary distortion or loss.
The basics of gain staging in music production
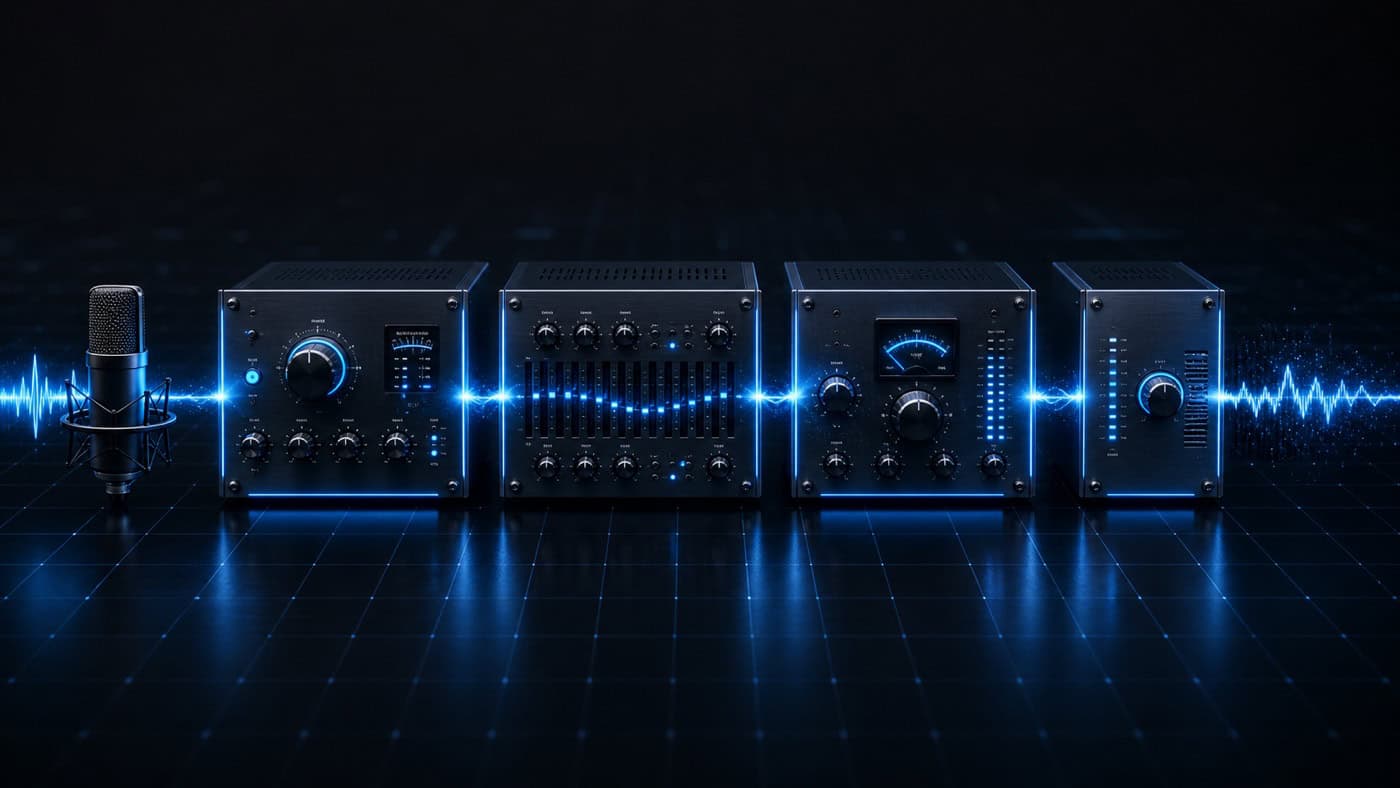
Signal flow: Signal flow refers to the route an audio signal takes from the source (e.g. a microphone) through various processing stages (such as preamps, EQs and Compressors) to the end device (e.g., speakers or headphones). Each link in this chain influences the sound and level of the signal.
Headroom: headroom is the margin between the average signal level and the point of clipping (Clipping). Adequate headroom is important to prevent loud signals from exceeding the maximum level and causing distortion.
Noise Floor: The noise floor is the basic noise of an audio system. It is important to keep the signal level high enough to cover this noise, but not so high that it causes distortion. Well-tuned gain staging will help you achieve an optimal signal-to-noise ratio.
Gain staging in the overall process: Our tutorial shows you how clean level structure, headroom, and dynamics interact throughout the entire mixing process. Mixing Guide with clear step-by-step instructions.
Mix analysis from a professional for your track
Step-by-step guide to gain staging
Preparation:
Before you begin gain staging, you should make sure that all equipment and software is set up and calibrated correctly. This includes checking interconnect cables, setting up preamps, and configuring your DAW (Digital Audio Workstation).
Adjusting the input level:
- Microphone input: Start with the microphone level. Make sure the preamp sets the level so that it is strong enough to overcome the noise, but not so strong that it distorts.
- Instrument input: Similar to the microphone, you set the level for instruments such as electric guitar or keyboard. An instrument should be loud enough to cover the noise floor without clipping.
Level monitoring:
During recording and mixing, it is important to constantly monitor levels. Use the level meters in your DAW to ensure that the level remains in an optimal range. A good guideline is that the average level is around -18 dBFS (Decibel Full Scale), with peaks not exceeding -6 dBFS.
Clean gain staging determines the mastering headroom — where this fits into the mix-to-master workflow is shown in the Mastering Guide.
Final check:
Before the final mix, all levels should be checked and adjusted. Make sure that all tracks are well matched and that the overall level of the mix offers enough headroom.
The most common mistakes in gain staging and how to avoid them
Override:
Clipping occurs when the signal is too strong and exceeds the maximum level, causing distortion. To avoid this, always keep an eye on the level and make sure you leave enough headroom.
Understeering:
Clipping means that the signal level is too low, resulting in a poor signal-to-noise ratio. This can be avoided by increasing the level enough to cover the noise floor without clipping.
Level differences:
A common problem is the inconsistency of levels between different tracks. This can be solved by regularly checking and adjusting the levels and by using compressors and limiters be avoided.
Tools and techniques for effective gain staging
Analogue vs. digital tools:
In the analog world, gain staging is often done using physical knobs and controls, while in the digital world, it is done using software plugins. Both methods have their advantages and disadvantages, and often a combination of the two is ideal.
Recommended software and hardware:
- Hardware: High-quality microphone preamps, such as the Focusrite ISA One or the Universal Audio 710 Twin-Finity, offer precise control and excellent sound quality.
- Software: Plugins such as the FabFilter Pro-G (Gate/Expander) or the Waves SSL G-Channel offer comprehensive options for level control and adjustment.
Practical tips:
- Calibration: Regularly calibrating your devices ensures consistent levels.
- Reference level: Use reference tracks to match the levels of your recordings and mixes.
- Gain plugins: Use gain plugins in your DAW to fine-tune the level of individual tracks.
Analog sound for your tracks too?
Gain Staging in the digital and analogue world
Digital audio production:
In the digital world, gain staging is often easier and more flexible, as modern DAWs offer a variety of tools for level monitoring and adjustment. A major advantage of digital production is the ability to make level changes non-destructively.
Analog audio production:
In the analog world, gain staging is critical to sound quality. Analog devices often have a characteristic sound behavior that can be optimized by proper level control. The downside is that analog level changes can have irreversible effects.
Hybrid systems:
Many modern studios use a combination of digital and analogue technology. These hybrid systems allow you to take advantage of the benefits of both worlds. For example, you can use analogue preamps to optimise the input signal level and then use digital plugins for further processing.
Conclusion
Gain staging is a fundamental technique in audio production that is critical to sound quality. By correctly setting levels at different points in the signal path, you can avoid distortion, maximize headroom, and achieve optimal signal-to-noise ratio. Whether in the analog or digital world, gain staging remains an essential practice for anyone pursuing professional sound.
Why is -18 dBFS considered the ideal operating level for gain staging?
The guideline of -18 dBFS originates from the calibration of digital systems to the analog reference level of 0 VU. Many plugins emulate analog hardware and operate most cleanly within this range. Keeping your average levels around -18 dBFS leaves plenty of headroom down to 0 dBFS, and saturation or compressor plugins will respond as intended.
What is the difference between gain and the volume fader in a mix?
Gain sets the input level of a stage, before the signal passes through plugins like an EQ or compressor. The fader controls the volume at the end of the channel strip, after processing. Gain determines how aggressively plugins are driven and is therefore crucial for gain staging. The fader is solely for balancing the signals between tracks.
Do I still need gain staging if my DAW internally calculates with 32-bit float?
Yes. The 32-bit float mix bus practically never clips internally, but individual plugins have fixed operating ranges. Analog-modeled saturation, compressors, and clippers are level-dependent and sound different with an excessively high input signal. Furthermore, every audio interface output still clips at 0 dBFS. Therefore, proper gain staging ensures consistent sound and prevents distortion at the converters.
Should I perform gain staging before or after adding plugins?
First, set the base level before loading plugins so that each plugin receives a suitable input signal. Within the signal chain, check again for level-altering processors like compressors or saturators and compensate using their output or a gain plugin. This ensures that the level remains stable throughout the entire signal chain and no component is overdriven or underdriven.
What is the difference between clip gain and a gain plugin?
Clip gain adjusts the level directly within the audio clip in the timeline, even before the first plugin is inserted into the channel. A gain plugin, on the other hand, sits at any point in the insert chain and controls the level at that precise point. Clip gain is useful for normalizing recordings before editing, while gain plugins are used for fine-tuning between different processing stages.